UI Packs
Recon Tutorial UI
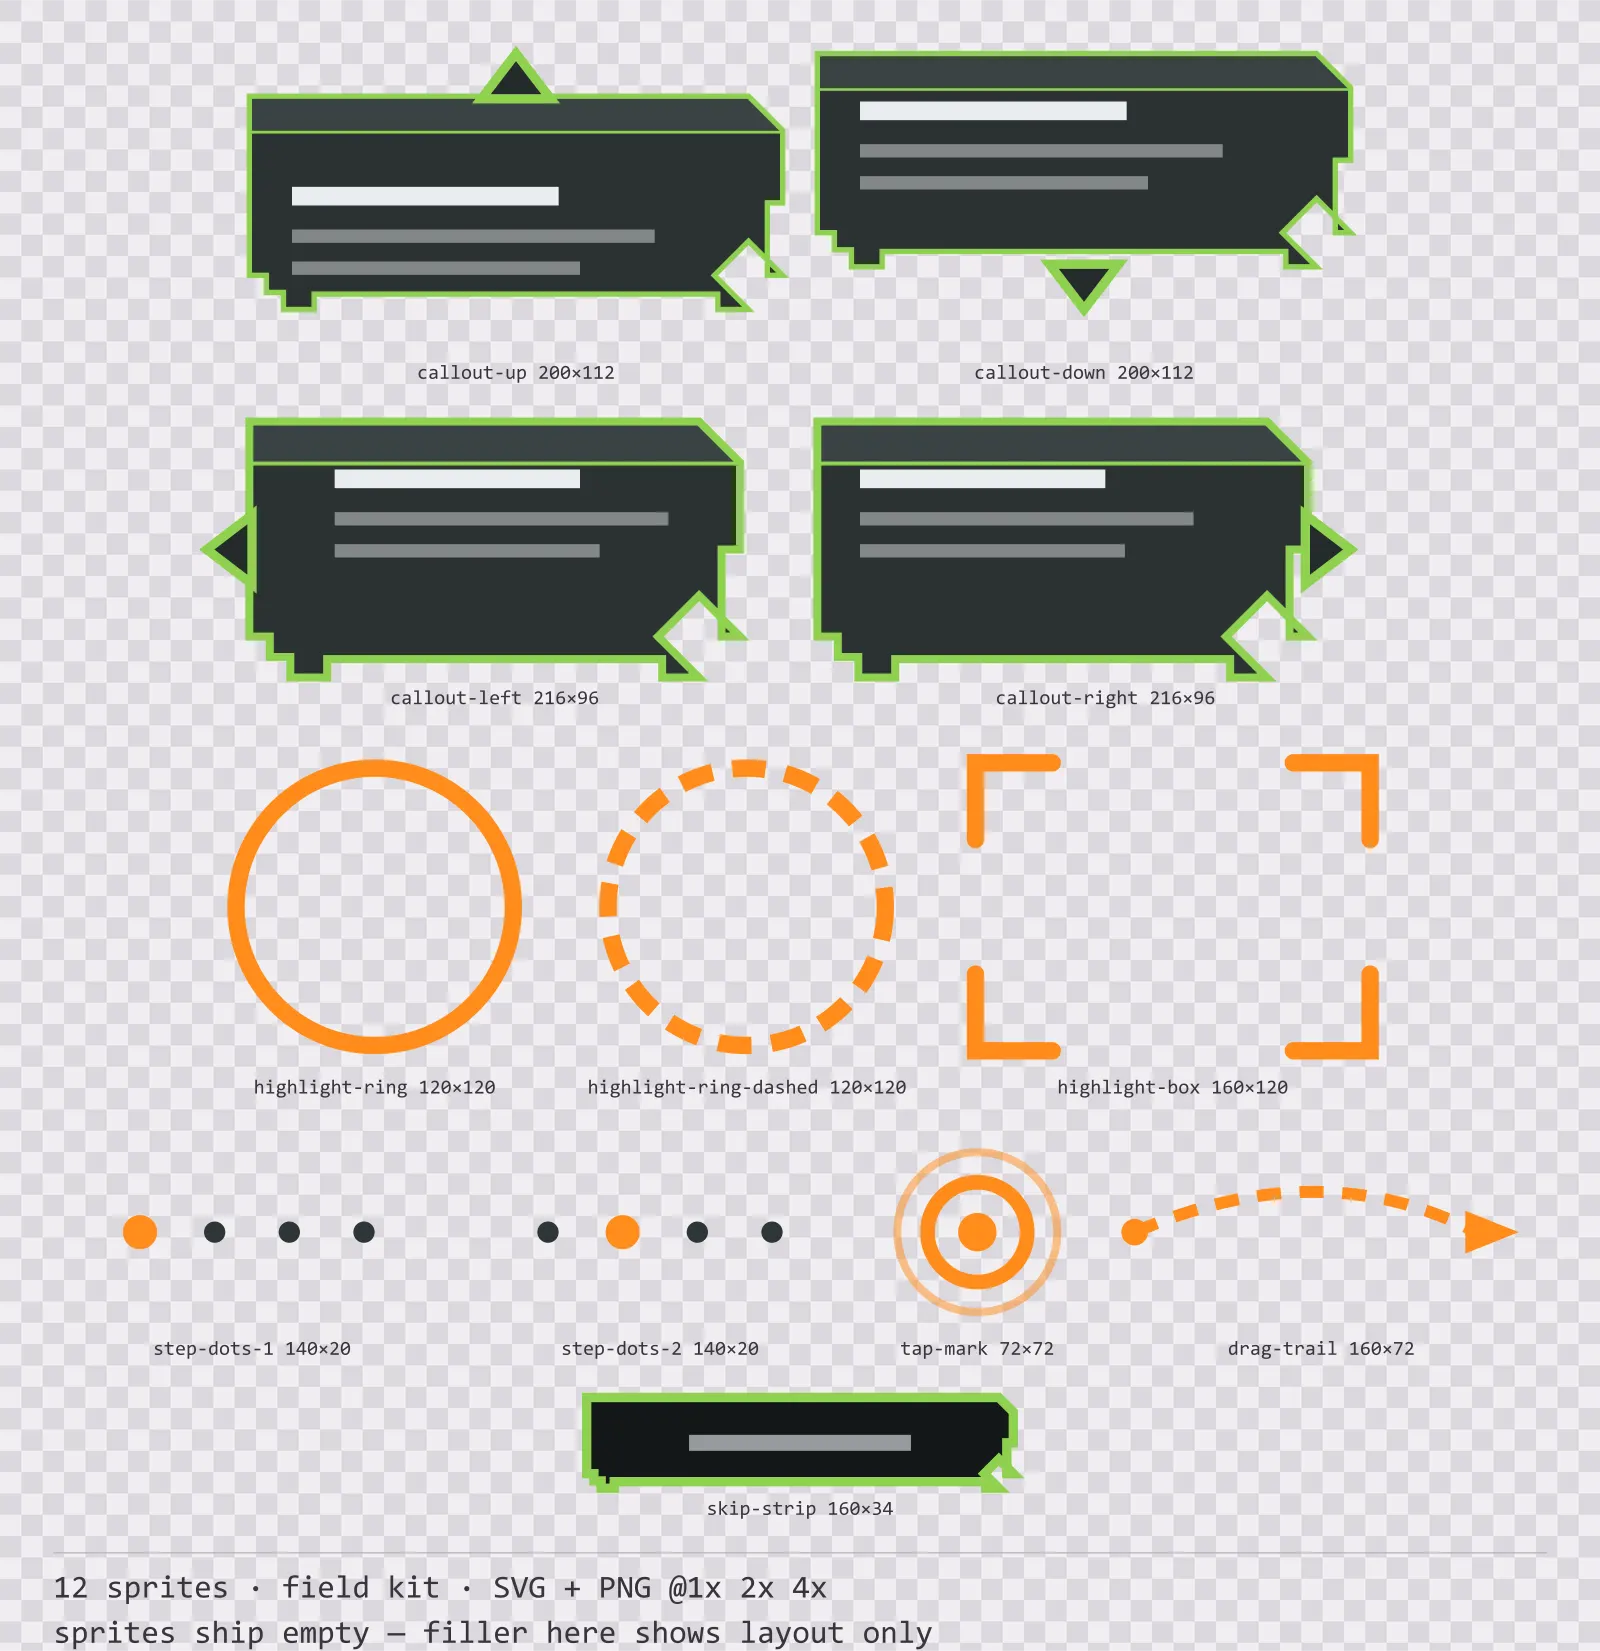
12 field kit tutorial and onboarding markers for dark interfaces — gunmetal with flare orange accents. SVG plus transparent PNG at 1x, 2x and 4x.
About this pack
Recon Tutorial UI is a set of 12 tutorial and onboarding markers drawn in the field kit style, where stencilled panels with squared corners, a bone trace and exactly one signal colour. It contains four directional callout balloons, a solid and a dashed highlight ring, a corner-bracket highlight box, two step indicator states, a tap mark, a drag gesture trail and a skip strip.
Every other kit in this catalogue covers part of the screen. This one points at it, and that inverts the rules: a highlight that fills its middle hides the thing it is highlighting, and a callout that can only point one direction is useless on three of the four screen edges.
No glow and no gradient anywhere: a painted crate does not glow, and the restraint is the whole look. The silhouettes stay close to the rectangle and earn their difference from stepped shoulders and edge rails rather than from cuts, which is how stencilled field markings actually behave.
Inside that style this is the Recon reading of it: a dark interface on a gunmetal palette with flare orange accents, built around a single bordered frame, chamfered buttons at 116x32, hollow-cored bars divided into 20 segments, and two-tone icons on a 16px grid. Those measurements are why two families can share an art style without being interchangeable: the style decides how an edge is drawn, the numbers decide what the interface is for.
The callout ships with the tail on each of the four sides as separate sprites rather than one balloon to rotate, because rotating it throws the shading to the wrong side and a tutorial balloon is used at all four screen edges in the same session. The highlight ring and box are hollow, stroke only and no fill, so whatever is underneath stays fully visible, which is the entire point. The step dots are countable so a player can see how much of the tutorial is left, which is the one thing that keeps them pressing next.
Every sprite ships as an editable SVG and as transparent PNG at 1x, 2x and 4x, so you can drop the PNGs straight into an engine or open the vector and change a colour. Built to the same measurements as the rest of the Recon family, which means this kit and the Recon panel kit line up without either being resized. A good fit for tactical, survival and military interfaces.
Download
Direct link · no sign-up · no wait pageComplete set — SVG sources, PNG exports at 1x/2x/4x, licence and readme

How to use it
- Pick the callout by which edge it sits against rather than rotating one sprite; the tail files are drawn so their shading stays consistent across all four.
- Place the highlight ring or box over your target with nothing drawn inside it. A scrim belongs behind the highlight, not within it.
- Use the dashed ring for something the player should press and the solid ring for something they should look at, and keep that distinction for the whole tutorial.
- Drive the step dots from your real step count. A tutorial with a hidden length is the one players skip.
License
Creative Commons Attribution 4.0 — Free for commercial use. Credit required. Full terms · What this means in practice
"Recon Tutorial UI" by Oğuzhan Girgin, licensed under CC BY 4.0 — https://www.colorosse.com/assets/2d/ui/recon-tutorial-uiAlso browse
More UI Packs
See all →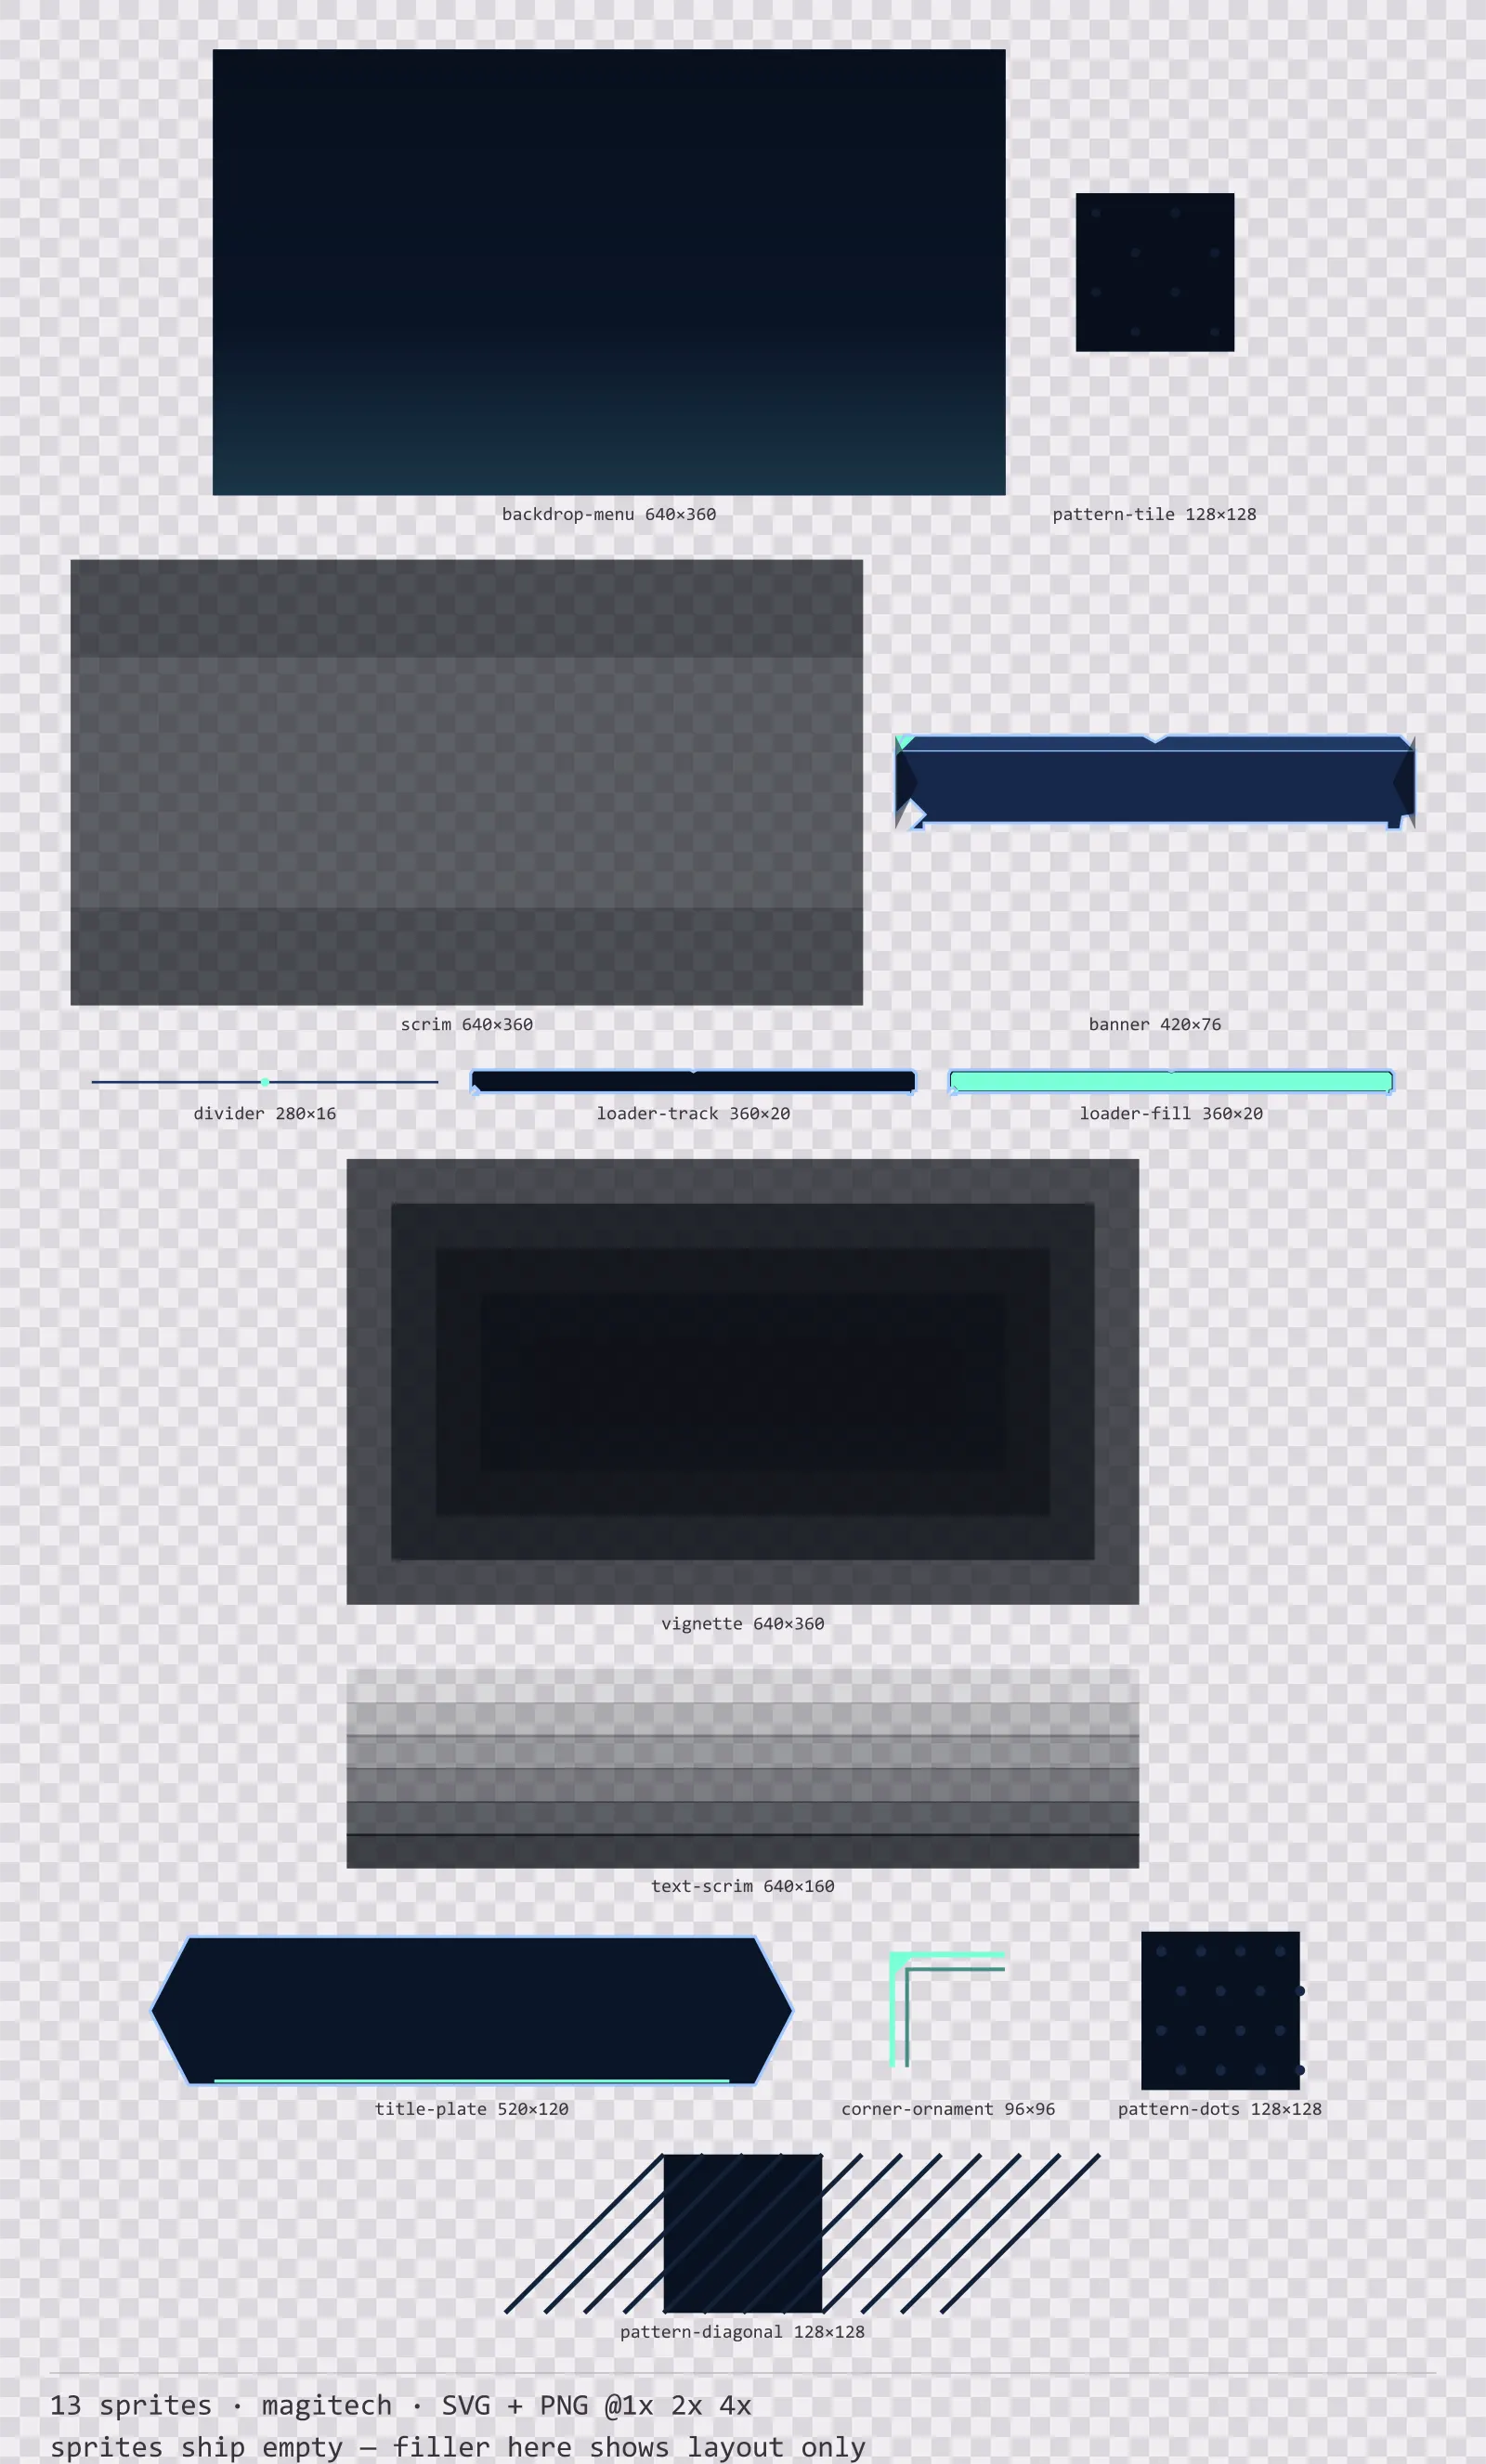
Aetherlab Backdrops
13 magitech background and overlay pieces for dark interfaces — lab navy with aether cyan accents. SVG plus transparent PNG at 1x, 2x and 4x.
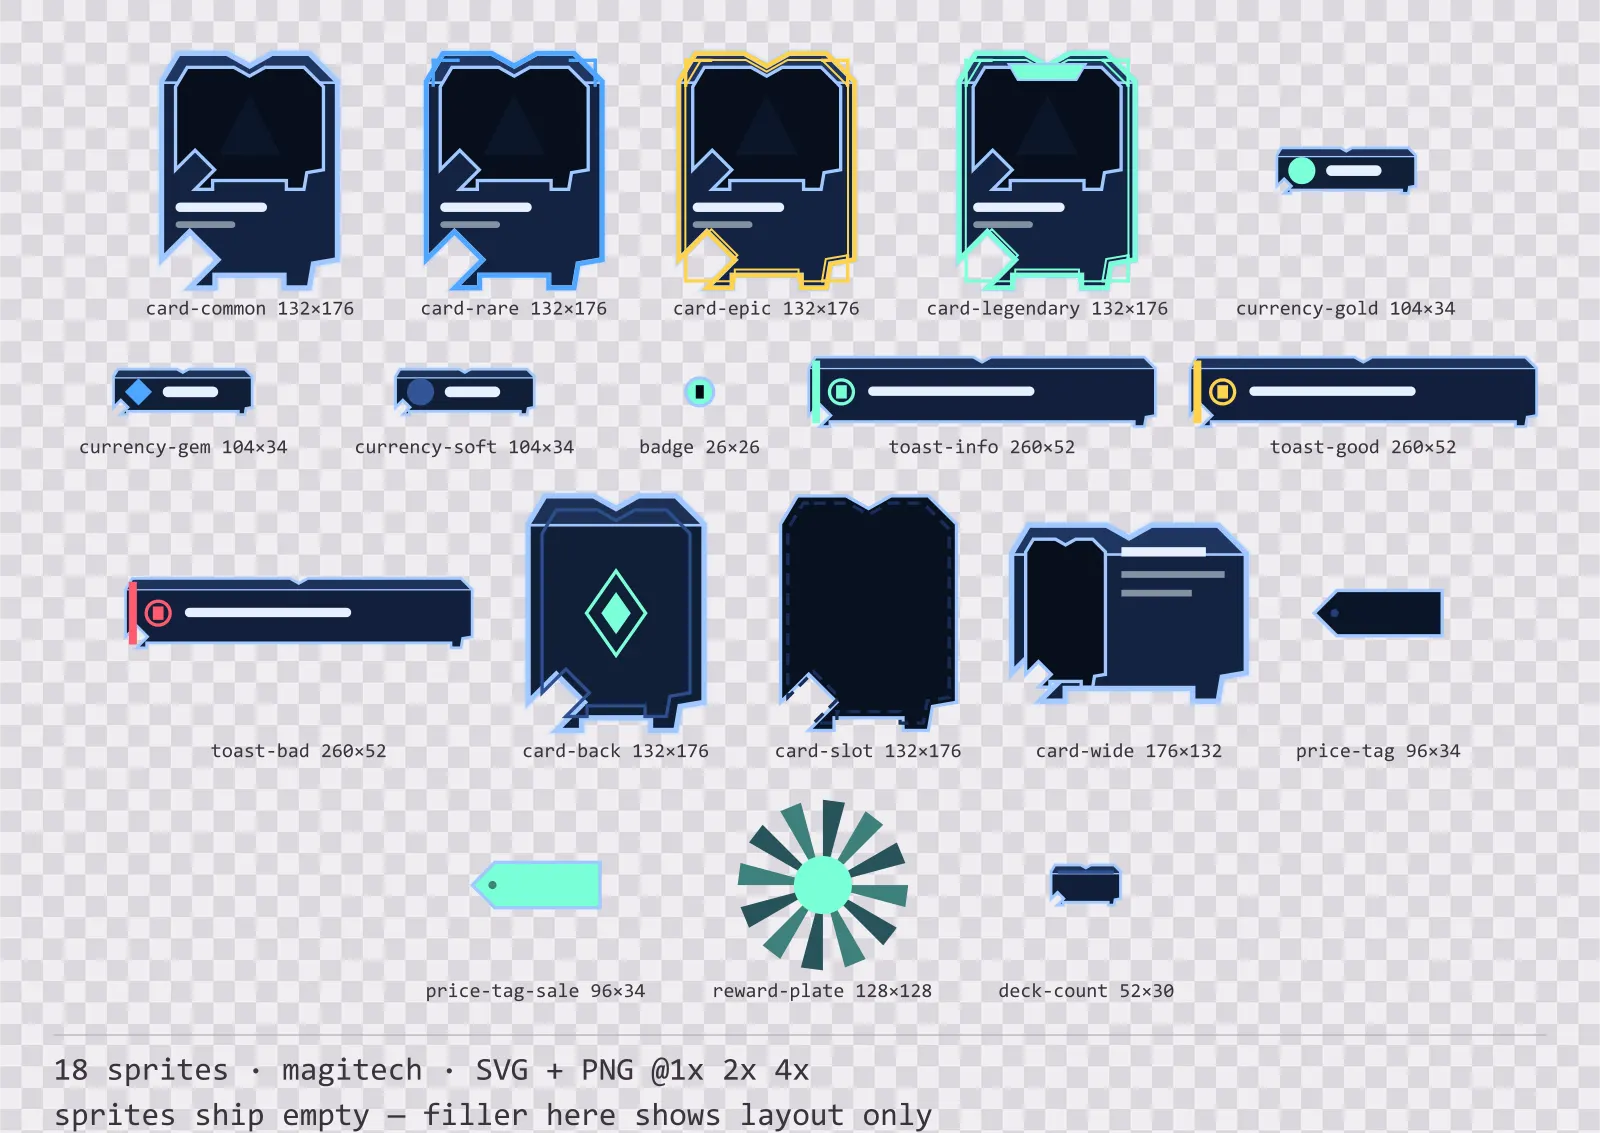
Aetherlab Card Frames
18 magitech card, currency and notification components for dark interfaces — lab navy with aether cyan accents. SVG plus transparent PNG at 1x, 2x and 4x.
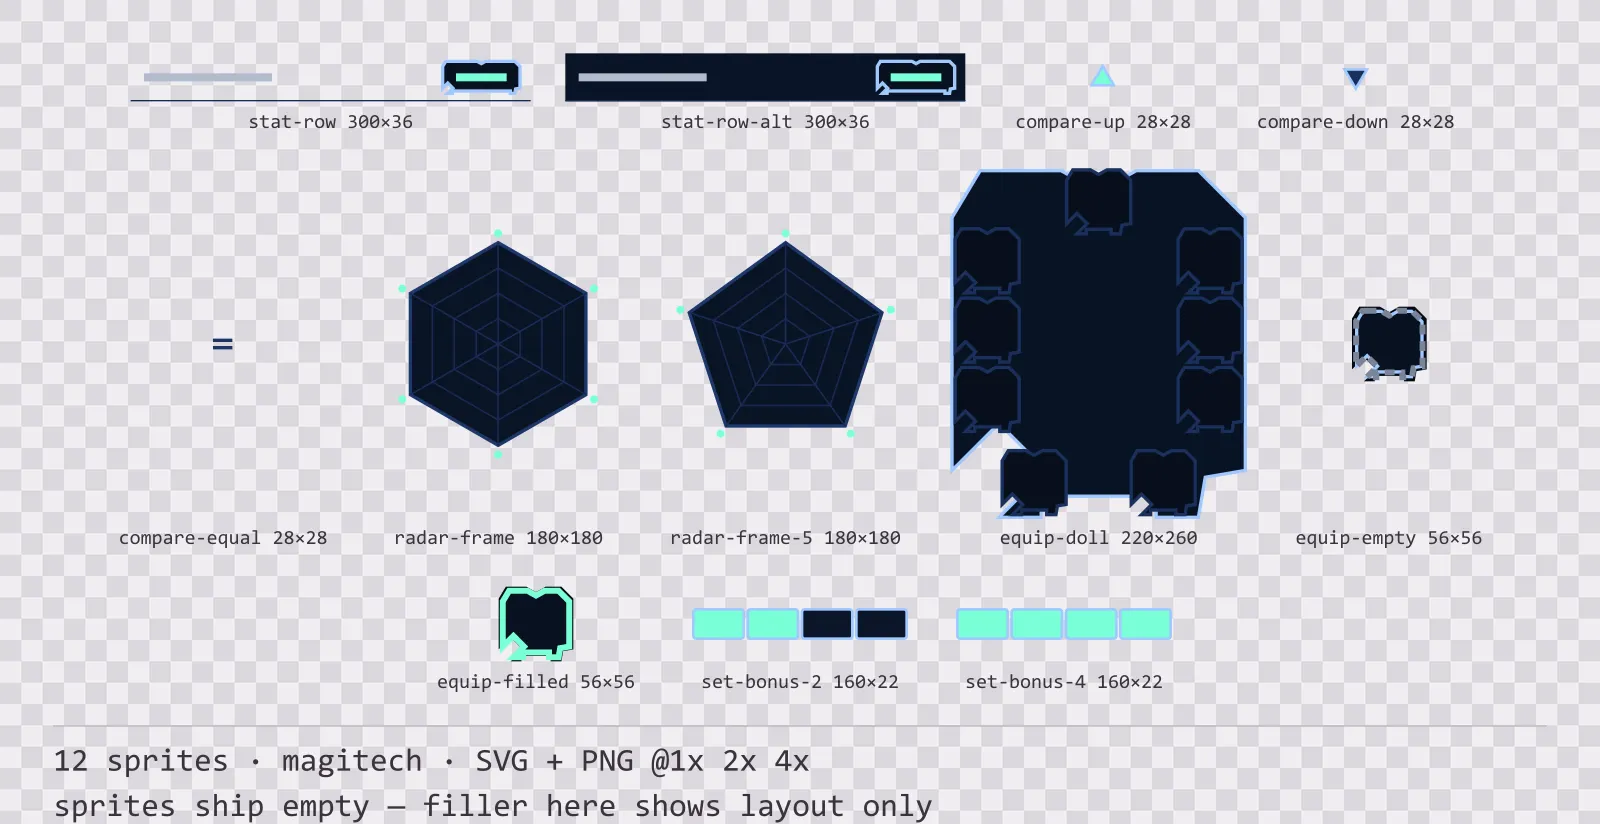
Aetherlab Character Sheet
12 magitech character sheet and stat widgets for dark interfaces — lab navy with aether cyan accents. SVG plus transparent PNG at 1x, 2x and 4x.
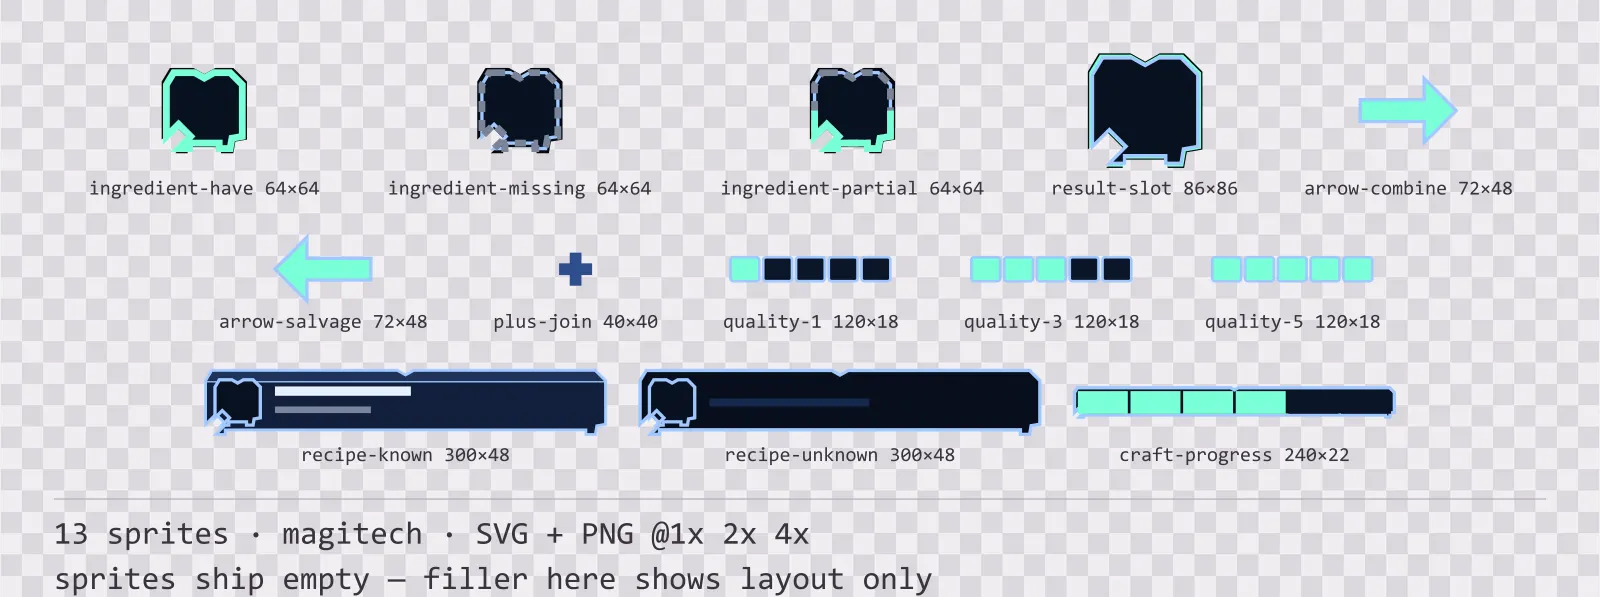
Aetherlab Crafting UI
13 magitech crafting and recipe widgets for dark interfaces — lab navy with aether cyan accents. SVG plus transparent PNG at 1x, 2x and 4x.